WooCommerce app connection
Create new WooCommerce user
Go to the Users tab in your WooCommerce shop and click Add New.
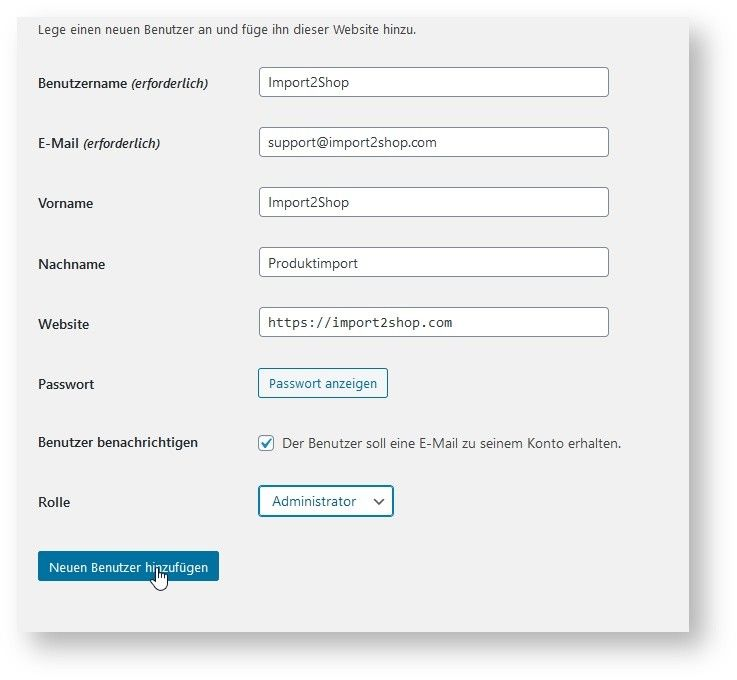
WooCommerce user data
Fill out all fields as shown above and then confirm with the “Add new user” button.
2. Set up API and link to user account
Set up WooCommerce API and link users to it
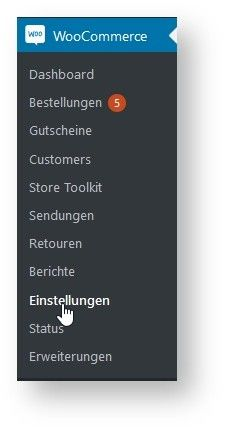
To do this, go to the WooCommerce tab in your shop and then to Settings.
 WooCommerce Rest API
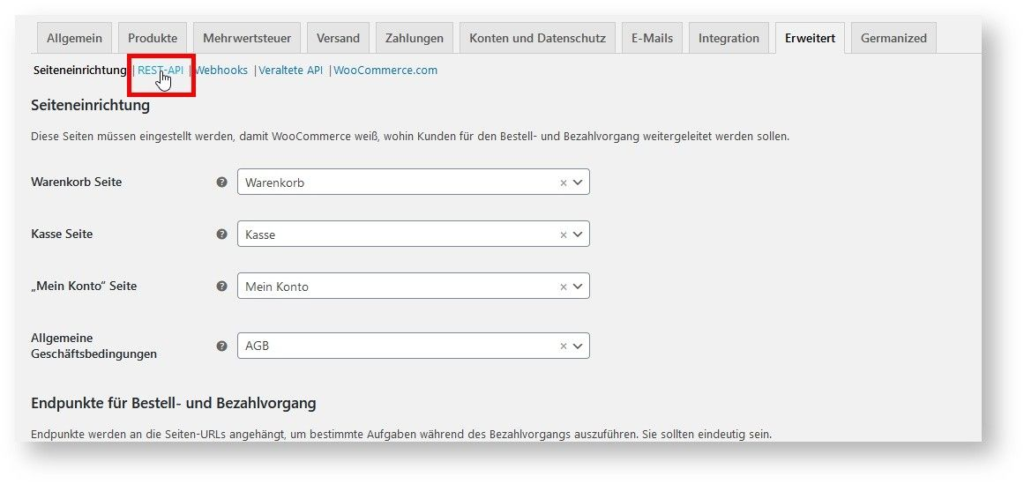
In the next window, please select Advanced at the top and then REST API.
 WooCommerce Rest API settings
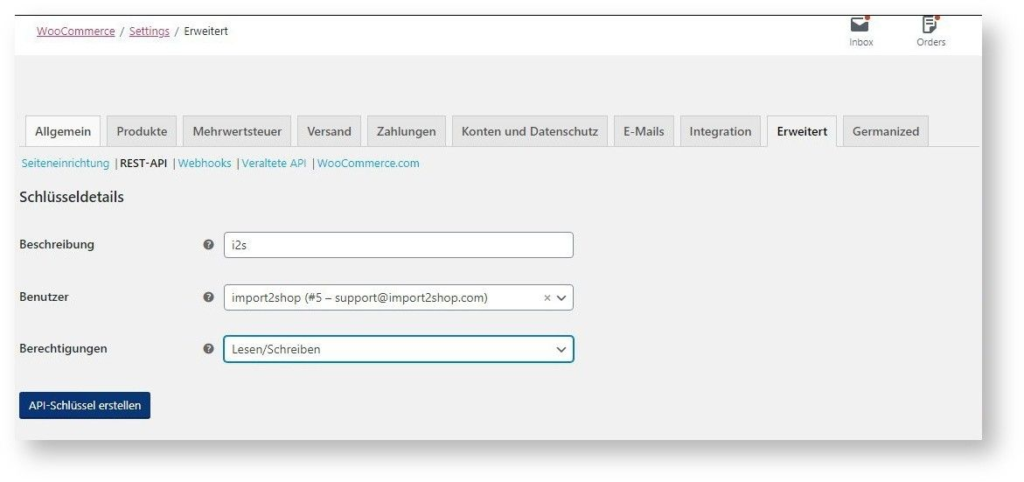
Now set everything there exactly as shown above and confirm with “Create API key”.
You will now see the key and secret. Please note that you will only see this once.
Enter the values in the I2S web app as follows.
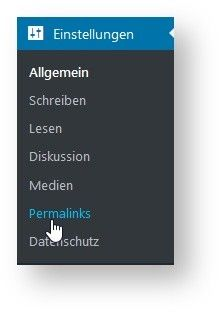
WooCommerce Permalinks
To do this, please go to settings in your WordPress backend and then to permalinks.
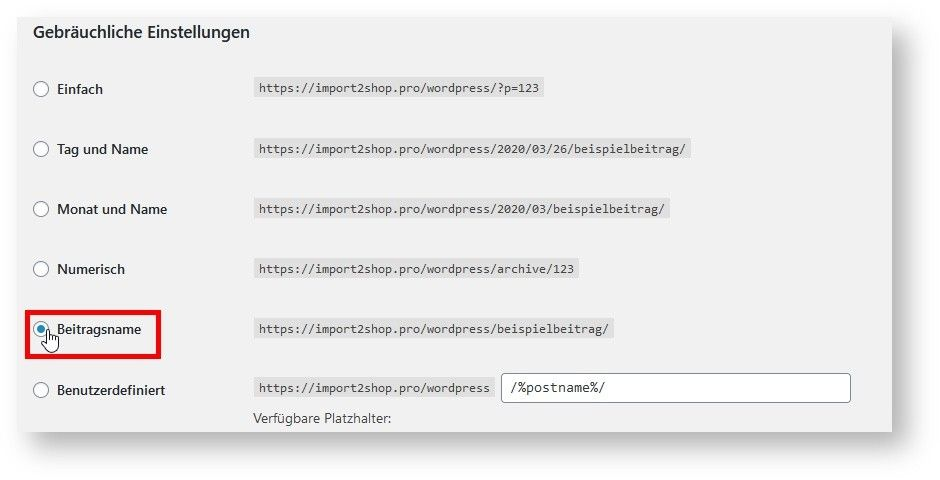
WooCommerce permalinks settings
Here it is important that the Post Name tab is activated.
WooCommerce import settings
A few settings are required for the WooCommerce import, which you can find here. Please make sure that these settings are set in your shop.
- Disable zooming out of thumbnails
Settings > Media > uncheck “Crop the thumbnail to the exact size (thumbnails are usually proportional)” - Disable the sorting of images in annual folders, this setting eats up a lot of time and can be re-enabled after the first import.
Settings > Media > Uncheck “Organize my uploads in month- and year-based folders.”
Set WooCommerce default values for variations
You have 2 options for your WooCommerce shop to show default values for variations.
- In each article you can individually select which variation should be displayed when the page is called up
- You can control the display globally for all articles, please install the “Force Default Variant” plugin for this.
Please do not tick the lower hooks.
Important information for WooCommerce customers
WooCommerce – Germanized
In order to offer products correctly, it is necessary to install Germanized Pro.
With this plugin, the delivery times are displayed correctly, and it is also possible to process basic prices with WooCommerce
Htaccess adjustments
If you get a 401 error when importing, add the following line as the first line in your .htaccess file:
SetEnvIf Authorization “(.*)” HTTP_AUTHORIZATION=$1
WooCommerce – Advanced Shipment Tracking
In order for us to transfer tracking numbers to WooCommerce, you need the free version of the Advanced Shipment Tracking module.