Hilfe-Center
Export scheduling
- Ideas
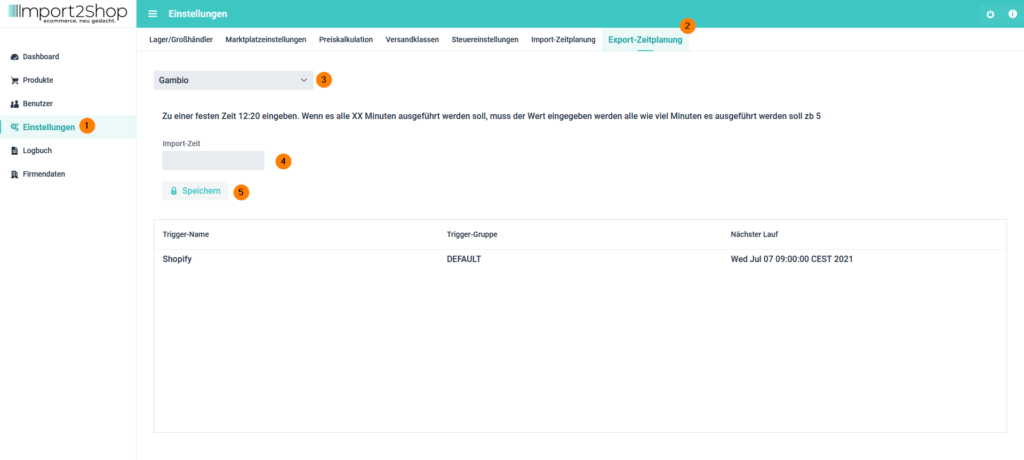
- Navigate to Export Schedule
- Select the marketplace (the shop system).
- Import time: Here you specify the times for the export of the selected marketplace (the shop system).
Fixed time: Example 12:15, enter 12:15 (HH:MM separated by a colon). The import then starts once a day at 12:15.
Minute interval: Example every 15 minutes, enter the number 15 for this. The import then starts every 15 minutes. - Save button: Use this to save your desired settings.
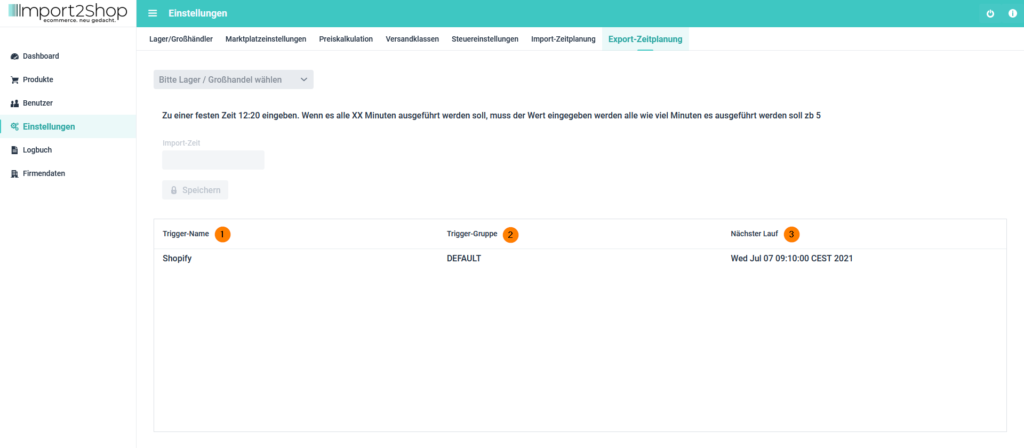
- Trigger Name: Shows the marketplace (the shop system) for which the scheduling was set up.
- Trigger Gruppe: Zeigt die Zeitplanungsgruppe (für unseren Support relevant).
- Next Run: Displays the date and time of the next import.
Change export update times
- Select the desired marketplace (the shop system).
- Your previous schedule is now in the import time field.
- You can now edit them.
- Save your changes with the save button.